 MAT
MATQuickstart
Six steps from a fresh account to your first working automation.
What Rustomat does
Rustomat is an in-game overlay that plugs into Rust+ (the same pairing the official companion app uses) and gives you a lot more control over it without alt-tabbing anywhere:
- Smart Devices: every Smart Switch, Smart Alarm, and Storage Monitor you've placed, with live state and one-click toggles. See Smart Devices.
- Automations: When/If/Do rules that react to triggers (an alarm goes off, a teammate comes online, a timer elapses) with actions (toggle a device, notify you, ping Discord). See Automations.
- Map: the live in-game map in a HUD window, zoomable from 1x to 14x, with your own custom marker/zone/line/text annotations layered on top. See Map.
- Vending Tracking: sell-order and sale-history tracking for your vending machines. See Vending Tracking.
- Discord integration: route automation actions straight to a Discord channel. See Discord.
- Multi-server: pair with as many servers as you like, one is "active" at a time and everything above reads from it. See Servers.
Core features are free. Free vs Power covers exactly what upgrading unlocks.
Everything runs in Basic mode by default: guided cards for devices and automations, no graph-editing required. Advanced mode swaps that for a full node-graph editor with every trigger/condition/action available, for when Basic's guided flow isn't enough. See Dashboard Overview for the full tour.
1. Create an account
Register with a username and password. Every account starts on the Free tier. Upgrade any time with a coupon code from your Account page.
2. Install and log in
Before launching it, move the downloaded .exe into its own folder first (e.g.
Documents\Rustomat\) instead of running it straight out of Downloads. It keeps its
config, logs, and the auto-updater in subfolders right next to itself, which gets messy (and
risks getting swept up in an unrelated cleanup) sitting loose among everything else in Downloads.
Then launch it. If you're on the auto-updater, it logs you in automatically once you've signed in once. Otherwise, paste the API key from your Account page into the overlay's login screen the first time.
3. Get and link your pairing credentials
This is the one-time step that lets Rustomat actually receive anything from Rust+: without it, in-game pairing has nowhere to deliver its notifications to.
- Install the RustPlus.py Link Companion Chrome extension.
- Open it and log in with Steam.
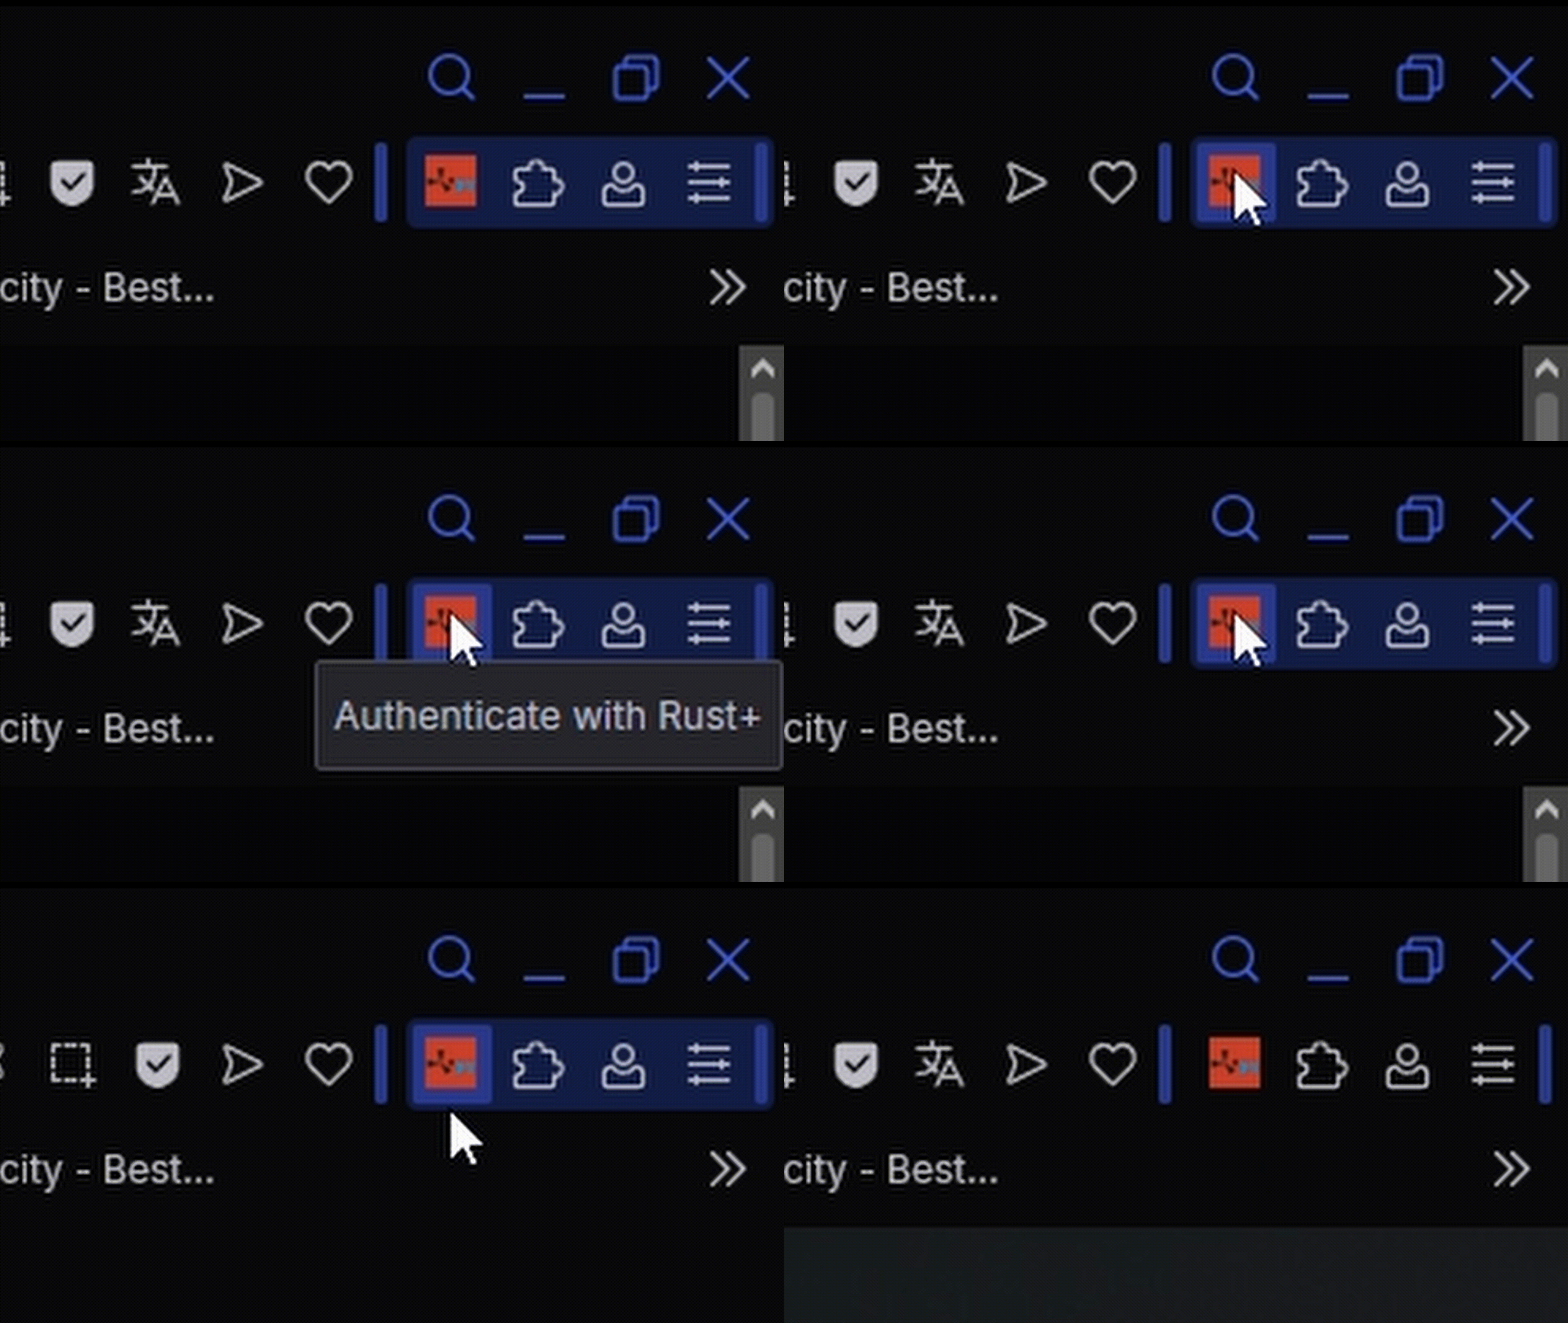
- Download the
rustplus.py.config.jsonfile it generates.
Once you have the file, link it either:
- on the Account page, under Link Pairing Credentials: upload the file or paste its contents, no overlay needed; or
- from inside the overlay itself, via Link Pairing Credentials in Settings.
Either way takes effect within about a minute. You only need to do this once per account, unless you regenerate the file later.
4. Pair with Rust+
Rustomat sees your smart devices, team, and map the same way the official Rust+ companion app does, through the same pairing. If you haven't already paired this Steam account with the server you're playing on, do that from in-game (Menu → Rust+) once; Rustomat picks it up from there.
5. Pick your active server
Every server you've paired with shows up in the Servers tab. Only one is "active" at a time: that's the one the Devices, Automations, and Vending tabs read from. Switch any time without losing anything set up on the others.
6. Build your first automation
Open the Automations tab and click + New Automation. Pick a trigger (e.g. "Smart Alarm triggers"), optionally a condition (e.g. "all teammates offline"), and one or more actions (e.g. "Discord Notification"). Save it and it runs automatically from then on, no further setup needed. See Automations for the full When/If/Do model.
Navigating the overlay
Three hotkeys, all rebindable from Settings → Hotkeys (see Settings & Hotkeys for the full reference), work anywhere in-game:
- Console (
`by default) opens the command console. - Toggle Panel (
F6by default) opens or closes the Dashboard in Basic mode, or the Settings window in Advanced mode. One key for both, since only one is ever reachable at a time. - Panic (
Ctrl+Shift+Spaceby default): see below.
Separately, Insert toggles click-through: whether mouse clicks pass through the
overlay to the game underneath, or get captured by the overlay's windows instead. Not rebindable.
Panic Button
Hitting the Panic hotkey (Ctrl+Shift+Space by default) instantly closes every
overlay window and the console, and forces click-through back on, so input goes straight back
to the game immediately, no matter what was open or what state the overlay was in a moment ago.
It's a single unconditional "get this out of my way right now," not a toggle, so it's safe to
hit even if you're not sure what's currently open.